
パン粉の作り方完全ガイド:古くなったパンからサクサクの衣まで
パン粉を一から作ることは、簡単で経済的、そして大きな達成感を得られる料理のスキルです。市販のパン粉は便利ですが、自家製のパン粉なら、食感や味付け、品質を自分の好みに合わせて調整することができます。このガイドでは、適切なパンの選び方から完成品の保存方法まで、その全工程を解説します。

フェーズ1:パン選び
美味しいパン粉の基礎となるのは、言うまでもなくパンそのものです。理想的なのは、1日置いた古くなったパンです。焼きたてのパンは水分が多すぎるため、ベタベタして塊になりやすいパン粉になってしまいます。.
クラシックでニュートラルなパン粉を作るには:無地の白いパン、またはフランスパン(バゲット)を使用してください。これにより、淡い色合いとマイルドな風味が得られ、鶏肉や魚の衣に最適です。.
素朴で食感が豊かなクラムを作るには:サワードウ、全粒粉、またはライ麦を使用してください。これらを使えば、色が濃く、きめが粗いクラムができ、ナッツのような風味と複雑な味わいが楽しめます。スタッフィングやキャセロールのトッピングに最適です。.
避けるべきこと:特定のデザート用パン粉を作る場合を除き、甘すぎるパン(ブリオッシュやハワイアンロールなど)は避けてください。糖分が多いと、パン粉が焦げやすくなります。.
プロのコツ:焼きたてのパンしかない場合は、スライスして網の上に4~6時間置いておくか、低温のオーブン(90°C / 200°F)で15~20分間焼いて水分を飛ばしてください。.
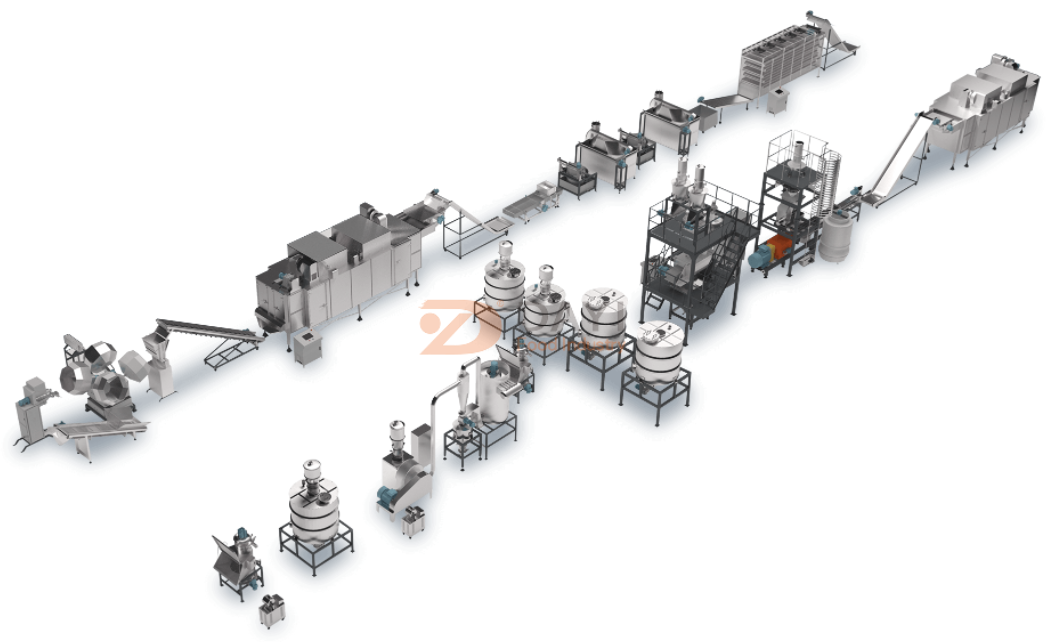
—
フェーズ2:準備――クラストの問題
調理を始める前に、クラストについて決めておく必要があります。.
そのままにしておく:茶色い斑点があり、食感が豊かな、素朴でざっくりとしたパン粉風のクラストにしたい場合は、クラストをそのままにしておきましょう。.
取り除く:きめ細かくて淡い色のパン粉(魚に薄くまぶす場合や、ソースのとろみを増やす場合など)が必要な場合は、ギザギザのナイフでパンの耳を切り落としてください。そうすることで、色むらがなく、きめ細かなパン粉ができます。.
決まったら、パンを2インチ(5cm)ほどの大きさに手でちぎるか、包丁で切ります。こうすることで、均一に処理できます。.
—
第3段階:乾燥工程
パンがどれほど古くなっていたとしても、残留水分はできるだけ取り除く必要があります。水分はサクサク感の敵だからです。.
オーブン乾燥法(推奨):
1. オーブンを110°C(225°F)に予熱します。これは低温です。ここでは乾燥させるのであって、焼くわけではありません。.
2. パンをちぎったものを、天板に重ならないように並べてください。.
3. オーブンで30分から45分焼きます。.
4. 焼き加減を確認する:塊は硬く、もろくなっているが、焦げ目がついていない状態が理想です。曲げるとパキッと折れるはずです。もし曲がってしまう場合は、もう少し時間が必要です。.
自然乾燥法:塊をワイヤーラックに乗せ、暖かく乾燥した場所に24~48時間置いておきます。これは伝統的な方法ですが、事前の計画が必要です。.
重要なポイント:乾燥させたパンを加工する前に、完全に冷ましてください。温かいパンを加工すると蒸気が発生し、塊になってしまう原因となります。.
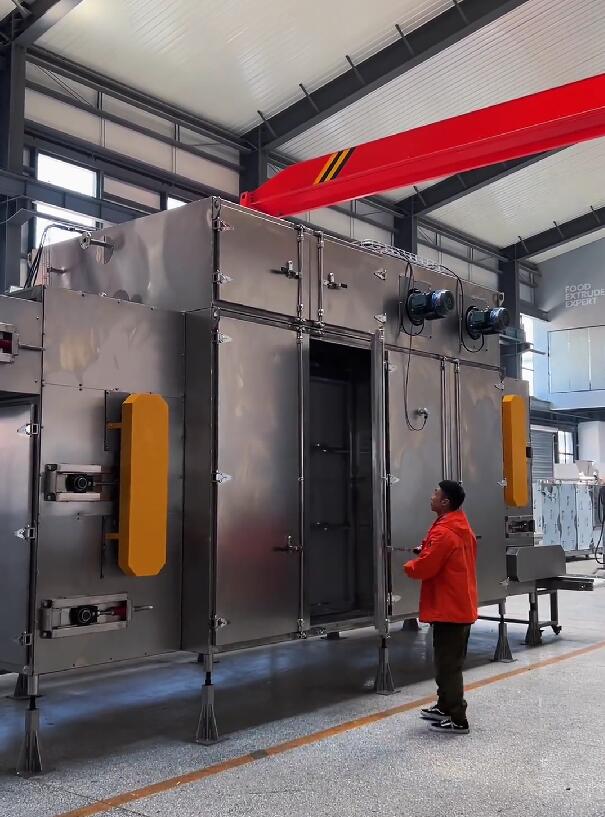
—フェーズ4:処理 – 粗処理と細処理
ここで、好みの食感を選びます。主に2つの道具があります。フードプロセッサーか、高出力のブレンダーです。.
A. きめ細かくて均一なパン粉(標準的なパン粉)の場合:
– 乾燥させて冷ました塊を、標準のステンレス製ブレードを取り付けたフードプロセッサーのボウルに入れます。.
– 循環を確保するため、ボウルの半分までしか水を入れないでください。.
– 1秒間の短いパルスで操作してください。ボタンを押し続けたままにしないでください。そうすると、サイズが不均一になってしまいます。.
– パンが砂や細かく挽いたオートミールのような状態になるまで、パルス処理を続けます。.
– ふるいにかける工程:本当にきめ細かなパン粉にするには、フードプロセッサーで処理したパン粉を目の細かいふるいにかけてください。大きめの塊はフードプロセッサーに戻し、さらに数回パルス処理してください。.
B. サクサクしたパン粉風パン粉の作り方:
– 通常のパン粉とは異なり、パン粉は塊ではなく、粗くちぎったものが必要です。.
– 乾燥パンは、角切りにするのではなく、小片に砕いてください。.
– フードプロセッサーの粗目グレーティングディスクを使用するか、スチールブレードで非常に軽く(3~4回程度)パルス処理し、過度に処理されないようボウルをこまめに揺すってください。目に見える、ギザギザしたフレーク状になるのが理想です。.
— フェーズ5:調味の決定
ここまでで、味付けをしていない乾燥パン粉ができあがりました。このまま保存してもいいですし、味付けしたミックスに変えることもできます。.
オプションA:プレーン(最も汎用性が高い):
味付けはせずに置いておきましょう。レシピに応じて、後で衣の材料にハーブやスパイスを加えることもできます。.
オプションB:イタリアン風味のミックス:
処理したパン粉を天板に広げます。次に、以下を加えます:
– 塩 小さじ1
– 黒コショウ 小さじ½
– 乾燥オレガノ 大さじ1
– 乾燥バジル 大さじ1
– ガーリックパウダー 小さじ1
– 小さじ½のオニオンパウダー
– すりおろしたパルメザンチーズ ¼カップ(お好みで)
よく混ぜ合わせ、110°C(225°F)のオーブンでさらに5~10分間乾燥させ、味をなじませます。冷まします。.
—
フェーズ6:脂肪の濃縮工程(任意ですが、推奨されます)
揚げたときに格別にきつね色でサクサクに仕上がるパン粉を作るには、保存する前に油を少し加えておくとよいでしょう。.
– パン粉1カップにつき、オリーブオイルまたは溶かしバターを大さじ1杯ほど、粉砕したパン粉の上に回しかけます。.
– 油がまんべんなくなじむまで、手でよく混ぜ合わせます。.
– 天板に広げ、160°C(325°F)のオーブンで5~7分間、途中で1回かき混ぜながら、薄いきつね色になるまで焼きます。.
– 注意:油をまぶしたパン粉は、乾燥したパン粉に比べて保存期間が短くなります。.
—
第7段階:冷却と保管
この最終段階は、長寿にとって極めて重要です。.
1. 完全に冷ます:出来上がったパン粉を、きれいな天板や大きな皿に広げます。30~60分間、そのまま放置してください。パン粉に残っている熱が容器内に結露を引き起こし、カビの原因となります。.
2. 保存:完全に冷めたパン粉を、密閉容器(ガラス瓶、ジップロック製の冷凍用袋〈空気を抜いてから〉、または真空パックの袋など)に移し替えます。.
3. ラベル:必ず日付と、無味か味付け済みかを明記してください。.
保存期間:
– パントリー:1~2週間(冷暗所の戸棚で保管)。.
– 冷蔵庫:1か月(油をたっぷり含んだパン粉の酸敗を防ぎます)。.
– 冷凍保存:6ヶ月。冷凍保存が最適です。解凍せずに、凍ったままそのままお使いいただけます。.
これについてもっと詳しく知りたい場合は、私までご連絡ください。私のWhatsAppの番号は8615953166130です。